
- 참조 : https://opentutorials.org/module/3811/25288
- 개발환경
- Windows 10
- tesseract-OCR 설치
- URL : https://github.com/UB-Mannheim/tesseract/wiki
- 다운로드 : tesseract-ocr-w64-setup-v5.0.0-alpha.20200223.exe
- 설치 : C:\Program Files\Tesseract-OCR
- 환경변수 PATH에 C:\Program Files\Tesseract-OCR 추가
- 한글 트레이닝 데이터 다운로드
- URL : https://github.com/tesseract-ocr/tessdata/blob/master/kor.traineddata
- 다운로드 : kor.traineddata
- 설치 : C:\Program Files\Tesseract-OCR\tessdata 에 복사
- tesseract-OCR 설치
- Anaconda
- activate whan14 : 가상환경 whan14 사용
- pip install pillow : pillow 설치
- pip install pytesseract : pytesseract 설치
- Windows 10
- 소스 코드 분석
- 모듈 추가
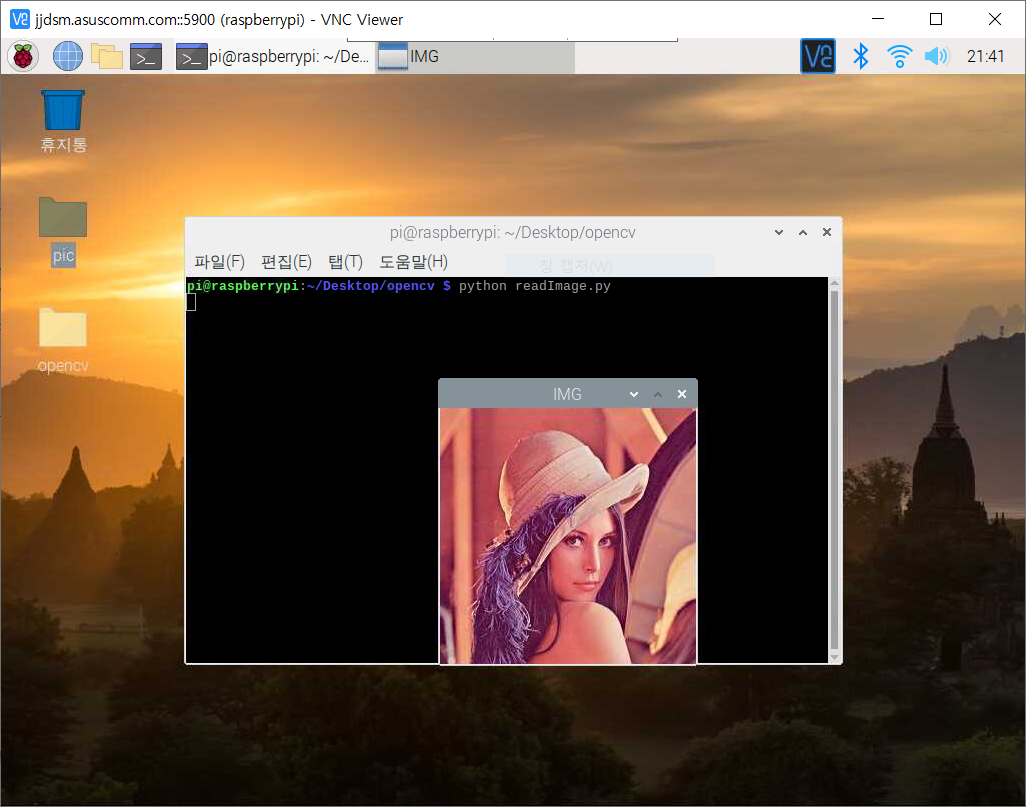
- 1.jpg 파일을 불러와 보여주기
- RGB -> GrayScale로 변환
- 모듈 추가
LED,가변저항,버튼 제어
2020. 5. 5. 21:55
Programing/Arduino
//버튼 핀번호
int btnRed = 7;
int btnWhite = 6;

//LED 핀번호
int LEDRED = 2;
int LEDGREEN = 3;

//가변저항 셋팅
int ptMeter = A0;
int ptValue = 0;

//변수선언
int powerValue = 0;
int ledValue = 1;

void setup() {
  Serial.begin(9600);
  pinMode(btnRed,INPUT);
  pinMode(btnWhite,INPUT);
  pinMode(LEDRED,OUTPUT);
  pinMode(LEDGREEN,OUTPUT);


}

void loop() {
  int readVRed = digitalRead(btnRed);
  int readVWhite = digitalRead(btnWhite);

  //가변저항 읽어오기
  ptValue = analogRead(ptMeter);
  //가변저항 적용
  ptValue = map(ptValue, 0, 1023, 0, 255);
  Serial.println(ptValue);

  if(readVRed==HIGH)
  {
    if(powerValue==0){
      powerValue = 1;
    }
    else if(powerValue==1){
      powerValue = 0;
      digitalWrite(LEDGREEN,LOW);
      digitalWrite(LEDRED,LOW);
    }

  }

  else if(powerValue==1){

    if(ledValue==1){
      digitalWrite(LEDGREEN,LOW);
      analogWrite(LEDRED, ptValue);

    }
    else if(ledValue==2){
      digitalWrite(LEDRED,LOW);
      analogWrite(LEDGREEN, ptValue);
    }
    if(readVWhite==HIGH){
      if(ledValue==1){
        ledValue=2;
      }
      else if(ledValue==2){
        ledValue=1;
      }
    }


  }

}
'Programing > Arduino' 카테고리의 다른 글
| 6FND, 초음파, 서보모터, Buzzer,매트릭스 키패드 (0) | 2020.05.27 |
|---|---|
| 6digit FND (0) | 2020.05.25 |
| LED 6개 순차 깜빡 (0) | 2020.05.03 |